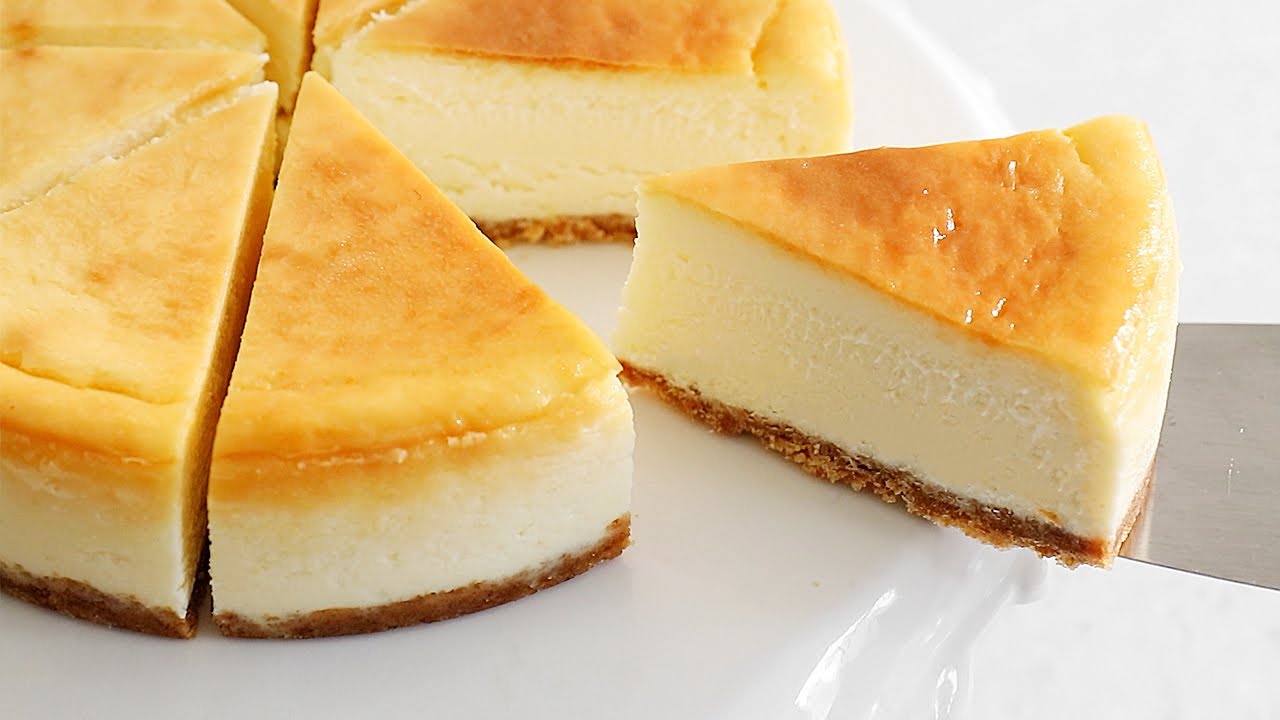
Cheesecake, an indulgent dessert revered by many, boasts a rich history dating back centuries. Its origins trace back to ancient Greece, where it was served to athletes during the first Olympic games. Today, this delectable treat continues to captivate taste buds worldwide with its creamy texture and heavenly flavor profiles. In this guide, we’ll explore a simple yet exquisite cheesecake recipe that will elevate your culinary repertoire to new heights.

Ingredients:
For the Crust:
- 1 ½ cups graham cracker crumbs
- ⅓ cup granulated sugar
- ⅓ cup unsalted butter, melted
For the Filling:
- 4 packages (8 ounces each) cream cheese, softened
- 1 ¼ cups granulated sugar
- 1 teaspoon vanilla extract
- 4 large eggs
For the Topping (optional):
- Fresh berries (strawberries, blueberries, raspberries)
- Whipped cream
Preparation:
Step 1: Preparing the Crust
Begin by preheating your oven to 325°F (160°C). In a medium bowl, combine the graham cracker crumbs, sugar, and melted butter until evenly mixed. Press the mixture firmly onto the bottom of a 9-inch springform pan, creating an even layer.
Step 2: Creating the Filling
In a large mixing bowl, beat the cream cheese, sugar, and vanilla extract until smooth and creamy. Add the eggs one at a time, beating well after each addition until fully incorporated. Be mindful not to overmix, as this can result in a dense cheesecake.
Step 3: Assembling and Baking
Pour the cream cheese mixture over the prepared crust, spreading it evenly with a spatula. Tap the pan gently on the counter to release any air bubbles. Place the springform pan on a baking sheet to catch any potential leaks, then transfer it to the preheated oven.
Bake the cheesecake for approximately 55-60 minutes, or until the edges are set and the center is slightly jiggly. Turn off the oven and let the cheesecake cool inside with the door cracked open for about an hour. This gradual cooling process helps prevent cracks from forming on the surface.
Step 4: Chilling and Serving
Once cooled, refrigerate the cheesecake for at least 4 hours, preferably overnight, to allow it to set completely. Before serving, run a knife along the edges of the pan to loosen the cheesecake, then carefully remove the springform sides.
Garnish with fresh berries and a dollop of whipped cream for an extra touch of elegance. Slice and serve chilled for a delightful dessert experience that will leave your guests craving more.
Tips for Success:
1. Room Temperature Ingredients
Ensure that your cream cheese is softened to room temperature before mixing to achieve a smooth and creamy texture in your cheesecake batter. This will also prevent lumps from forming, resulting in a velvety consistency.
2. Gentle Mixing
Avoid overmixing the batter, as this can lead to excess air being incorporated, resulting in a puffy or cracked surface. Mix on low speed just until the ingredients are combined, scraping down the sides of the bowl as needed.
3. Water Bath Method (Optional)
For an extra layer of protection against cracking, consider using a water bath during baking. Simply wrap the bottom of the springform pan with aluminum foil and place it in a larger pan filled with hot water before baking. The steam created will help regulate the temperature and prevent the cheesecake from drying out.
4. Patience is Key
Resist the temptation to rush the cooling and chilling process. Allowing the cheesecake to cool gradually and set in the refrigerator ensures a silky smooth texture and prevents it from collapsing or becoming too soft.
Conclusion:
Mastering the art of cheesecake is a rewarding endeavor that yields decadent results sure to impress even the most discerning palates. With this simple recipe and a few expert tips, you’ll be well on your way to creating cheesecakes that are both sublime in taste and stunning in presentation. So gather your ingredients, preheat your oven, and embark on a culinary journey that celebrates the timeless allure of this beloved dessert. Happy baking!